Written by ContentPowered.com
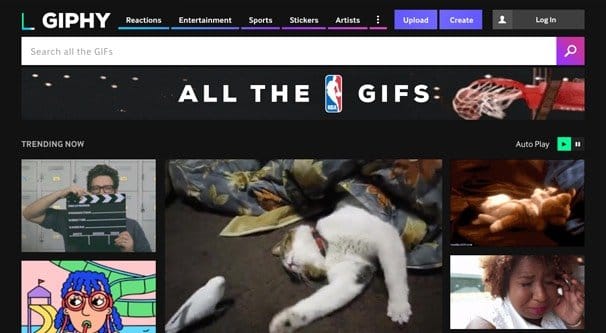
Facebook has been experimenting with allowing animated gifs on their site for quite some time. Early reports of embedded gif functionality started in the early days of 2015, and various workarounds have existed before even then. These days, gifs are integrated in the Facebook Chat and Facebook Messenger program, with a variety of “gif keyboards” or gif libraries accessible and searchable by keyword.
Posting a Gif on Facebook
The primary way to post a gif on Facebook is to use the website Giphy. Giphy is one of the premier go-to image hosts on the web, specializing entirely in animated gifs.
Step 1: Create an animated gif. I’ll cover this in greater detail shortly.
Step 2: Upload the gif to Giphy. You can do this by going to the Giphy upload page and dragging and dropping a gif file, or clicking to browse to upload it, or pasting in a URL of the gif hosted on another site.
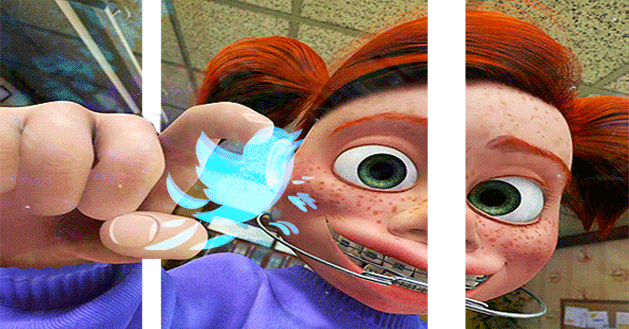
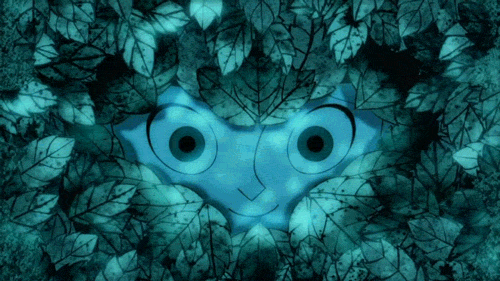
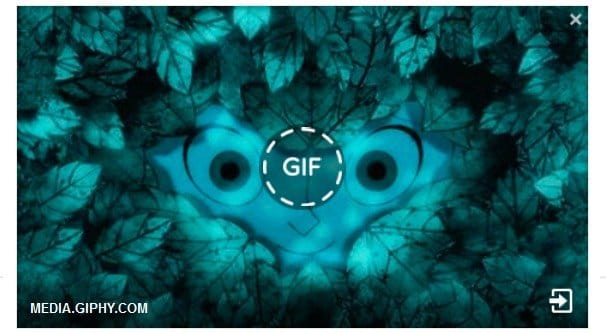
Step 3: Go to the gif’s page. Here’s an example gif:
On that page, you will see two tabs below the gif; “share” and “advanced.” You can click the Facebook icon on the Share tab to share the gif embedded in a Facebook post, and it will pop up a window that looks like this:
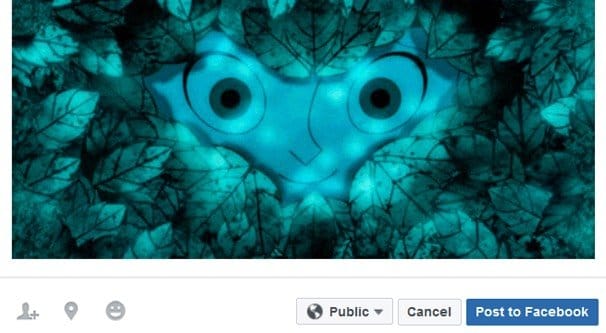
You can write whatever you want as your post, set your privacy settings, location, and emotion as you desire, and post it to Facebook.
If you would rather do this all manually on Facebook itself – and not have the “via Giphy” at the bottom of the post – you can click on the advanced tab. You will see three options; the Giphy link, the HTML5 link, and the download link. Copy the HTML5 link and paste it in Facebook’s post composer. It will load a preview of the gif, which will look something like this:
You can click the gif to remove the big circled “gif” and play a preview. You can then customize the post and post it when it fits what you’re going for.
The pictures above are for a personal profile, but it works the same way for using a business Page, you just have additional options in the post publishing button, like scheduling, backdating, or saving the post as a draft.
Interestingly, Facebook doesn’t animate gifs when you upload them directly to Facebook, they are simply added to an album. The only time they actually animate is when they’re selected as a profile picture. Animated profile pictures are neat, for personal profiles, but they’re not a great idea for your brand, at least not yet. Rather than standing out as unique, they might come across as obnoxious, if they even work for brand pages. I legitimately don’t know if they do or not. I haven’t seen one, but that doesn’t mean much.
Also, Facebook doesn’t generate an animated preview of a gif hosted on the other big image hosting site, Imgur. I believe this has something to do with the way Imgur compresses their images. Gifs uploaded to their site are actually converted into Gifv/Webm format, which Facebook doesn’t parse and preview. You’ll have to use Giphy if you want the animated preview.
So, that’s posting the gif, and that’s the easy part. The hard part is getting a gif you want to use. I’ve found that there are four main ways of doing it.
The Ultra-Easy Way: Finding a Gif
The first way to obtain a gif for your Facebook page is to simply find one on the web. Unlike finding static images, you don’t have to worry quite as much about creative commons or usage rights for a gif.
Now, technically, gifs fall under all of the same rules as images in terms of usage rights and copyright restrictions. The creator of the gif owns the gif, assuming they created the content. The thing is, most of the time, when you’re finding a gif for use on Facebook, it’s going to be a meme, and most memes are screen captures of TV shows, movies, or other such content. In those cases, the original owner of the gif is actually the producer of the TV show or movie, and the gif itself is a fair use capture of a portion of the content. You won’t get in trouble unless you somehow make a gif version of an entire move – which has been done – and that’s not plausible to use on Facebook.
So, where can you find gifs? You use a gif search engine, of course. Here are four options I like.
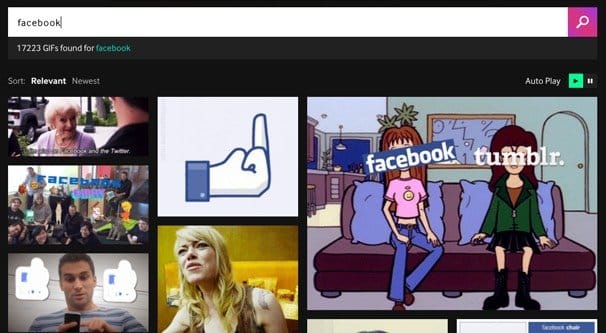
- Giphy. In addition to being a gif host, Giphy is also a gif search engine. Gifs are tagged by uploaders with hashtags relevant to the gif, and you can search through those tags. It’s a little fickle, though. As you can see with my test search – the Secret of Kells movie – a lot of gifs simply have “secret” as a tag that comes up. Unlike most search engines, Giphy doesn’t respect quotation marks, so you can’t search for whole phrases and exclude other content.
- Gifme.io. This is a smaller gif library, sort of like a discount Giphy. As such, it won’t find nearly as many results – and in fact finds nothing for my test query – but it does find some interesting and unique results. It also sources from all over the web, and shows you content from Imgur, Tumblr, Amazon web services, gfycat, and a whole host of other sites.
- Gfycat. Speaking of Gfycat, it’s one of the other top options I like. It’s all user-created as well, but it has a lot more in the way of tags, including a lot of Tumblr-like commentary tags. It also respects phrases much more completely, so my test query shows a ton of relevant results and very few extraneous results.
- Google. Yes, you can use Google specifically to find animated gifs. Plug in your query, go to image results, and click “tools” off to the side. Under tools, click “type” and select animated. This filters your results to only show you animated gifs relevant to your query. You can impose other filters and use all of the standard Google search operators here as well.
In order to use a gif on Facebook, simply follow the process above to upload it to Giphy and post it in your composer. One thing to note: if you’re not certain about the usage rights of the image, make sure it’s something you can get away with using! You don’t want someone to issue a takedown because of a goofy animated gif, right?
The Easy Way: Using a Web Gif Creator
What happens if you know what you want, but you can’t find a gif of that exact moment to use? Well, that’s where you need to make it yourself. You will need a source, generally a video clip on YouTube or hosted on your local computer. To continue using the example I’ve been running with, we’ll use this video as a source.
The two main options I like to use are Giphy – again – and Makeagif.com. For Giphy, hit the “create” button in blue up at the top. For makeagif.com, click the “youtube to gif” tab. For both, paste in the YouTube URL.
For Giphy, you are presented with the video in a preview at the top. You have two sliders; a start and an end slider. Set the exact time you want the gif to start and the duration of the gif. Below that is the “caption” field, where you can add text, and set the style and color of that text, to make your own meme or caption. Below that are tags, the YouTube source, and the “create gif” button. Once you’re satisfied, click to Create Gif and it will be processed and uploaded automatically. Here’s a test I made in a few seconds.
For MageAGif.com, you can choose a title for your gif, a category, and tags. You can enable audio and subtitles, if the source has that data, which will turn your gif into a webm format. However, Facebook doesn’t embed webms, so don’t do this. Below the preview gif on the right is the same set of sliders, start time and duration, and a create gif button. Here’s a test.
I like MakeAGif because it’s fast and simple, but it does have the downside of watermarking your final product. It also doesn’t allow you to add your own text. It’s good for quick, goofy reaction images like Buzzfeed, but beyond that it’s not useful for much. Giphy is much better in general.
The Difficult Way: Using a Gif Capture Program
A gif capture program is a program that records what’s on your screen and converts it into a gif for you. There are a lot of different ways to do this, but I prefer GifCam. GifCam is a surprisingly simple app with a lot of depth beneath the hood. You start it out and it’s just a transparent app window with buttons to the side. You resize and reposition the window to cover what you want to animate as a gif, then click “rec” to start recording a gif. Beneath the window, you do what you want, whether it’s playing a YouTube video, recording a portion of your screen, or even just dragging the window around to a different part of your screen.
GifCam has a lot of gif optimizations under the hood. For example, if you linger on a static image, it records one frame and then adds a frame delay, rather than recording numerous frames. This helps minimize the size of the resulting gif file. As you might know, gif files can be extremely large, so this is quite a useful optimization.
There’s also the frame-by-frame editing tools, which automatically greenscreen out bits of the background that are static from frame to frame, again to minimize the size of the resulting gif. After all, if large potions of the background don’t move, there’s no reason to keep individual data for each static frame in the gif.
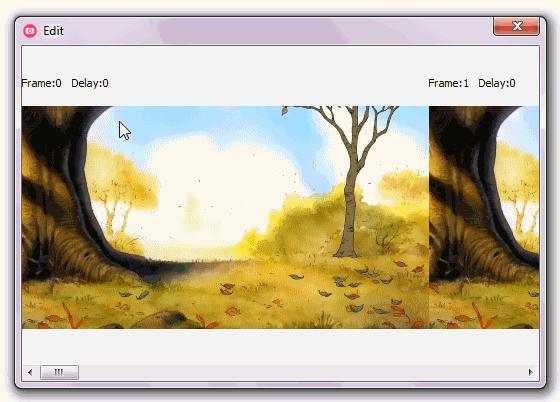
Once you have recorded a gif source, you can then edit it. You can add delay between frames, remove frames, cut frames from the start or the end, and so forth. You can also save it with color reduction to make it smaller if you want. It also has a text editor to add text across frames, align it, and manipulate it, though don’t have a ton of color or font options.
The best part of GifCam is that it’s totally free, and it’s quite a powerful tool if you’re just recording something locally. If you want to turn a bit of a video into a gif, I would still recommend using Giphy instead.
The Professional Way: Using Image Manipulation Tools
The professional way of making a gif uses top-shelf tools, and it’s not something I expect anyone to do unless they’re already a graphic designer by trade. I swear, if you buy Adobe After Effects or the new PhotoShop just to make gifs for Facebook, you need to get your head checked.

I’m going to be honest with you here; I haven’t used this method myself. I use simpler tools or I commission someone for complicated gifs. If you really want to use PhotoShop and After Effects to make a gif, you can look up a tutorial from somewhere like here.
The advantage of using this method over the others is a complete and total control over what you produce. You aren’t limited by the technology, you’re limited by your ability to control graphics. You can do anything from moshing the gif to adding effects to splicing different parts of different videos together. Text can not only be added, it can be animated, given transforming effects, changing colors, and anything else. With enough time and the right sources, you can essentially do anything that high end Hollywood producers do to replace greenscreens with composite backgrounds.
Of course, that’s all a little much for simply posting on Facebook. I wouldn’t recommend investing that much time – or money, if you don’t own the programs – on Facebook memes. Only go this far if you really want to make the resulting image a core focus of your marketing.