 Written by ContentPowered.com

Facebook verification is a common topic on this blog. We’ve talked about it before, both with pages and with profiles, for all sorts of industries. There’s no easy way to earn verification, but since everyone consistently asks, I’ll cover it one more time. From now on, though, unless something changes, I’m just going to point to this post whenever someone asks me how they can get verified.
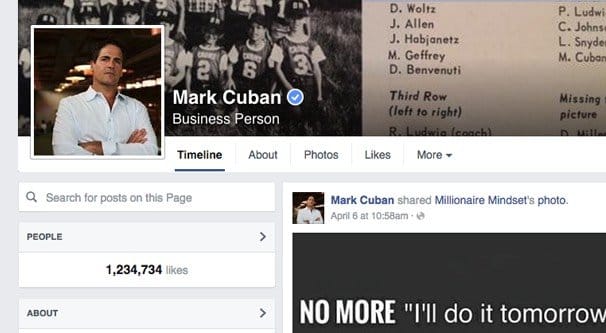
According to Facebook themselves, verification is available primarily to celebrities, journalists, government officials, politicians, popular brands, popular businesses, and other high profile entities on the site. Essentially, it’s available to people who need a measure of trust in their identity in order to do what they do. A politician needs you to know they are who they say they are, so you’re not accidentally following Hillary Clinton on a page where “she” talks about the illuminati and how you should buy her affiliate products.
Here’s the catch: you can’t initiate a verification process. There’s literally nothing you can do. Send a support message to Facebook about it and you have a pretty good chance of being totally ignored. If you do get a response, it will be a form letter saying they don’t accept verification requests.
There are two reasons for this. The first is to minimize the amount of spam requests Facebook gets. Imagine if they had to field verification requests from every business with 100+ followers, plus all of the spammers looking to snipe verification from legitimate businesses to run a scam.
The second reason is to keep verification meaningful. Imagine if every business page got verification automatically once they reached, say, 500 followers. Would you care? I wouldn’t. At that point, verification would be so commonplace as to be meaningless. It would be more unique to see brands without it.
Facebook wants tight control over who is and isn’t verified, and as such, they have very high standards. Moz, one of the biggest names in SEO and a business with over 200,000 followers, does not have verification. Steam, the online game platform with 4.2 million followers does not have a verified Facebook page.
Then again, there are some surprisingly low-visibility entities with verification. I’ve seen verified pages with under 10,000 fans. Popularity seems to have little to do with it, once you reach a certain minimum threshold. Facebook won’t verify your page if you have half a dozen fans, no matter who you are.
The Five Step Process
Now, we’re talking specifically about local businesses here. This has a few important implications for your prospects of verification. For one thing, it means you’re probably going to be relatively small. We’re talking a few thousand followers on average, though it may be significantly less. The more followers you have, the better, of course. That said, you want to make sure you aren’t diluting your audience with fake followers. It will throw off your ads targeting and your demographics research, among other things. As a local business, you need a local audience. A significantly non-local audience may be a warning sign to Facebook that something is amiss, and that you shouldn’t be verified until things are checked out.
Before we begin, there’s one potential black hat technique you may be interested in trying. I’m not saying you should – in fact, I don’t think it will work – but I’m going to bring it up for the sake of argument.
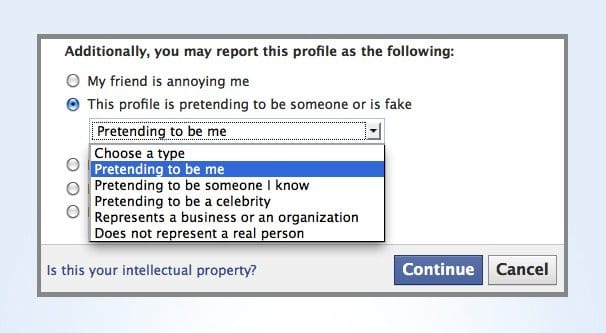
The technique is to get your business impersonated. When a page is impersonating your brand, you can report it. Facebook gives you the process on how to do that here. When they review the impersonator, they will often find them in violation of the terms of service of Facebook, and they’ll suspend or delete the page.
In some cases, as a preventative measure against future impersonation, Facebook will verify the target. The target, in this case, is you. They’ll verify your page so that potential users will see the two and know the verified page is the real page.
The problem here is, how do you get yourself impersonated? Well, that’s where the black hat comes in. You could impersonate yourself in an attempt to trick Facebook into verifying you.
The thing is, you have to be very, very careful about how you do this. If you’re going to attempt it, you need to make sure it’s completely divorced from your standard information. Don’t use your personal profile to make the impersonating page, use a new profile. Make sure that profile and its associated page are registered to anonymous gmail addresses that, themselves, don’t have any information tying them to you. Make sure you’re always accessing the impersonator’s pages from a proxy in some third world country, and have information set accordingly.
All of this is an elaborate set up just to impersonate yourself, and all of it is a lot of work to grow a page that doesn’t directly benefit you, and in fact can potentially harm you if you’re going all-in with the impersonation and actually stealing user information. Which you might need to do, if Facebook doesn’t take things seriously enough.
Then, after all of that, you might not be verified. They’ll get rid of the impersonator page, of course, but that doesn’t mean they’ll verify you. You might need to be impersonated several times, and that’s a heck of a lot of work that might not work.
I bring this up to say it’s not a reliable method and it’s not something you should do. You’re free to try it if you’re desperate, of course, but I wouldn’t recommend it.
So, now let’s take a look at the actual five step process I’ve put together. It will work a lot better than impersonating yourself, at least.
Step 1: Fill out your profile completely.
The first thing you need to do is make sure your page is filled out 100% and then some.
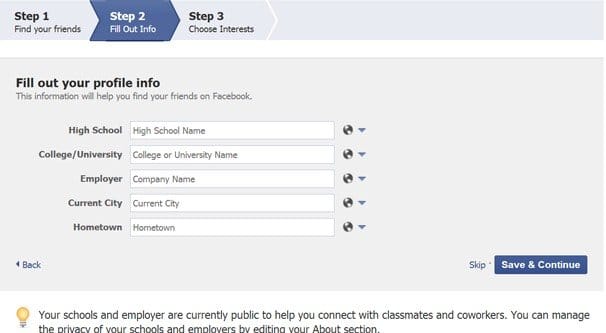
This starts when you create your page, but chances are you’re past that by now. If you’re in the position to create a new page, make sure you choose the right category. Unfortunately, some of those categories will disallow verification based on how Facebook doesn’t care about certain industries. You probably went for local business, which means you can potentially be verified, if you’re good at everything else.
Make sure to plug in your physical address, and make sure it matches the physical address you post on your website and on other business listings like Yelp. Consistency is key for both Facebook and for Google search, among other things.
- The About section should be full. It gives you 155 characters as a summary of your brand mission. Use it as descriptively as possible.
- The URL is the link to your brand website homepage.
- Your profile picture should be a brand logo, though it doesn’t have to be a logo alone; it can be edited depending on the season or whatever else you like. A square image of 180 pixels per side is the minimum you should use, but any square will work.
- Your cover photo should be attractive and interesting. There’s a ton of different options here, but I like a good picture of your storefront on a gorgeous day. Make it look good.
- Edit the descriptions of both your profile picture and your cover photo, since they’re also going to show up in your images feed.
- Your Start Info is information about when your company was founded, your product was released, or something similarly foundational.
- Your long description gives you extra room to expand on your About section. Take the time to talk about your brand goals and mission.
Once you have all of this squared away, you can get on to the business of managing your page. If you’ve been running and growing a page for a while without filling out some of those fields, there’s no better time to do it than now.
Step 2: Post quality content on a regular basis.
Facebook’s algorithm, called EdgeRank, worked by combining a handful of factors into a sort of relationship measurement between each individual fan and your brand page. The more recent a post is, the more likely it is to show up. The more often a fan interacts with your page, the more likely they are to see more posts from your page.
Therefore, if you want to attract attention and grow your page, you need to post engaging content on a regular basis. High quality content will draw in engagement, and engagement will draw in new fans. New fans broaden your audience and keep the cycle going.
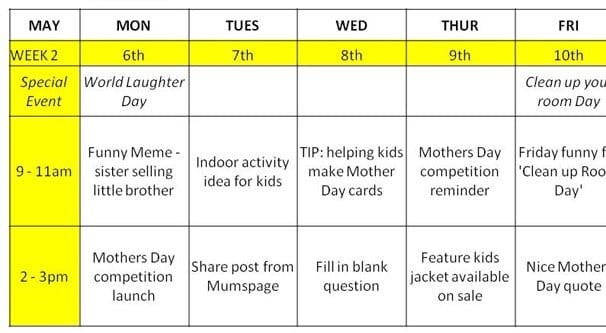
I like to post twice a day on average on Facebook. The exact timing depends on the audience I’m working with. This gives me 14 posts per week to work with, and I limit myself to only 2-3 posts per week that are sales related. Most of the time, posts will be about local events, store deals, or audience relationships. A few posts each week should also be curated content. Curating content is an art of its own, so make use of some tools to learn it.
Step 3: Pay for advertising through Facebook.
This is where we start to get into verification territory. Facebook tends to look more favorably on pages that have spent money, and are currently spending money, on the ads platform. I’m not saying you have to spend a lot of money, but the more you can afford, the better off you are.
On the plus side, spending money on ads through Facebook can be a great way to grow your page as well. Page growth is the next item on our list, and ads will help you do that.
Some people worry about a conspiracy about Facebook demanding money for verification through ads. This isn’t really the case, it’s just that the people who have the budget to spend thousands per day are also the people most likely to earn verification. It’s just a matter of prevalence and prominence.
Step 4: Grow your audience.
Growing your audience is going to be crucial. Facebook doesn’t verify just anyone, they only verify people who have active audiences and whose business they want to keep around. As a local business, this means the deck is stacked against you. You need to do everything you can to grow, and with that growth invest more into Facebook. There’s unfortunately a soft cap on your growth due to your geographic limitations, but opening up an online storefront can help with that, even if it’s a relatively minor store with just a handful of products.
Step 5: Get a CEO page verified.
This step is kind of out of the way, but can help you out. Since you may be having trouble getting a local business page verified, you can go through an indirect route. Get a page for the CEO verified, and then use that leverage to get your business verified.
The first thing you want to do with this process is create a new page for a “public figure” for your CEO. Fill this page out completely like you would a business page and start building a history of posting consistently, just like you do here. Additionally, fill out publications and accolades in your publications section. Write a lot in your long form bio, to make it look like you’re invested in the page.
The trick here is to download the Facebook Mentions app. This app, for iOS, is made for public figures to monitor and manage their public page. When you open it up, you’ll type in your name, but it won’t appear because Mentions is only available to verified users. Click the “My page isn’t verified” button and you’ll be presented with a form to submit your information. Once you submit, you’ll be asked to submit some verification data for Facebook to review.
Ideally, this process will get your CEO profile verified on Facebook. At that point, you can use the leverage of existing verification to verify your local business page.
