 Written by ContentPowered.com
Promoting a post on Facebook takes that organic post and converts it into a Facebook news feed ad. That’s all it does. When you boost a post using the “boost post” button, Facebook takes your money, slaps a few basic targeting factors on and laughs all the way to the bank. When you promote a post using the Power Editor, you have more complete control over the targeting and thus can make your post that much more effective.
How much more effective is it than just letting your post run wild? Well, you’ll have to measure it and find out.
Step 1: Set Up Goals
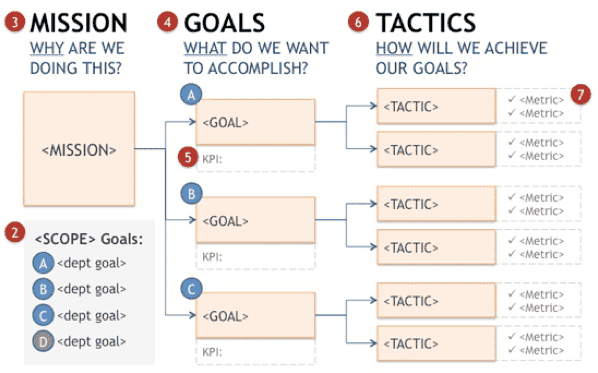
The first thing you need to do in order to track the return on investment of your promoted posts is determine what, exactly, your goals are with the posts.
There are a few factors that will be fixed. For one thing, you will know at the time of posting your ad what your maximum budget will be. You plug in a number and tell Facebook to do what it can with that amount of money. Sometimes that entire budget will be eaten up in minutes. Sometimes you will reach the end of your audience without eating through your entire budget. It depends on your targeting, and both are a sign of different targeting factors.
You also know where your ad is going to show up; the news feed. You can use this ROI tracking method for ads in other locations, but specifically promoted posts live in the news feed.
Oh, and as a note, never use the boost post button. It can work very well, contrary to how it used to work. However, it’s still like using a screwdriver to do the job of a crowbar. It can work, but it’s not the best tool for the job, it might take longer and it sometimes breaks.
What goals might you track? Anything, really. It might be website conversions, website clicks, email signups, or anything else. Just so long as it’s something you can track in Google Analytics.
Step 2: Create a Compelling Post
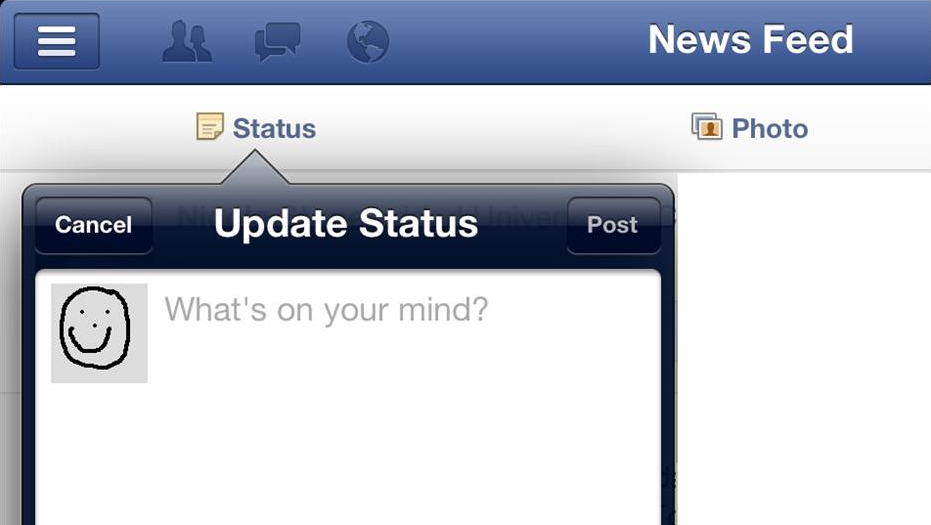
Just like when you’re making an ad, making the post you want to promote is going to be very important. It’s going to look like a post in the news feed, with the “sponsored” label, but otherwise no differences. Therefore, it can’t look too advertorial. Instead, you need to be just as casual as you usually are with your posting. Don’t significantly change your voice just for a promoted post.
Make your post an image post. There’s really no disputing this. The only post type with more engagement on Facebook is the video, and right now video ads are limited in capacity and usability. Facebook’s news feed allows for some very large, vibrant images, so make use of the space you’re given.
Write a short bit of text to accompany the image. Try to keep your text under 100 words. Anything longer and you start to lose people who don’t want to read more than a tweet worth of writing at a time. There’s an art to crafting the perfect copy, so take your time.
Finally, include your link. More on that in the next section.
Step 3: Create a Trackable URL
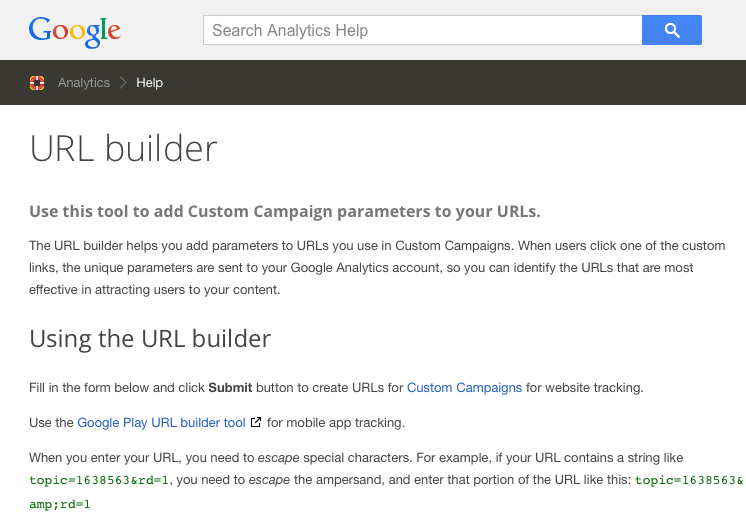
The way I’m recommending that you track your URL is through Google Analytics. You can use some other services if you want, however. For example, bit.ly has some basic tracking options for shortened URLs.
I prefer Google’s URL Builder for a few reasons. For one thing, it’s very flexible. For another, it’s not a shortened URL. Many social media users are starting to distrust shortened URLs, because they are often used by spammers to redirect to an ad page, which disrupts the browsing experience. There’s also the benefit that Google’s UTM parameters are used everywhere, so users are used to seeing and ignoring them.
When you use Google’s builder, you will have to put in the URL of the destination page. You do have a landing page, right? Optimizing that is the subject of a whole other article.
You will also have to put in the campaign source, the medium, and the name. Content and term are optional. Source, in this case, will be FB or Facebook, however you want to use it. Medium will be however you want to flag a promoted post. Campaign name will be your individual ad name, such as “PromotedPostVar1”
The reason to add the Var1, for Variation 1, is in case you’re split-testing promoted posts or changing your campaign over time. Later, in Google Analytics, you will be able to see the performance of each individual “campaign” URL.
Once your URL is ready, feed it into your post and share. Promote your post using your budget and the targeting options you want to use. I’m not going to get into how to target a post here; if you’re interested in tracking ROI, you probably know how to specify targeting and how to adjust it for testing variant ads.
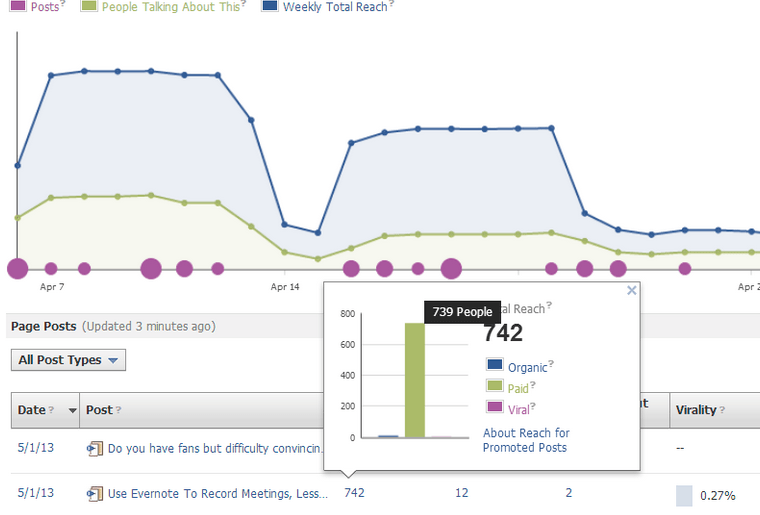
Your two tools for tracking everything about this post will be Facebook Insights and Google Analytics. Google Analytics, specifically, will have a section labeled Traffic Sources > Sources > Campaigns. In this section, you will see a list of anything that has a UTM Parameter campaign listed.
Google Analytics, of course, is a deep and varied platform you can use to see just about any possible piece of information you could want about the link you posted. Anything you want to know specifically about the people clicking your link, you can track via Facebook Insights. This includes post statistics as well, so you can see your reach and click rates, and compare them to the conversion rates you monitor through Google. Compare all of that to your goals, and to your spent budget, and you have a picture of your ROI.

