 Written by ContentPowered.com
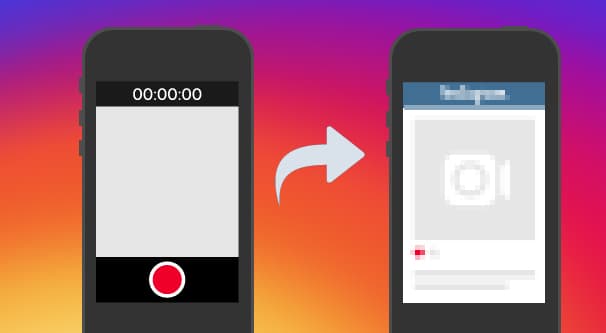
Using video on Instagram is great for both social networking and marketing. There’s just one problem: the Instagram algorithms absolutely love crushing down video files.
It makes sense, of course. Instagram sees tens of millions of pieces of content uploaded every single day. Can you imagine how much it would cost to build and maintain a data center with the data storage necessary to hold all of that? In order to save on both bandwidth and on storage space, Instagram has implemented video compression at the time of upload. Every video you upload will be run through this compression; there’s no way to avoid it completely. The best you can do is take a few steps to try to minimize the loss in quality.
Know Where It’s Going
Before you even begin, you need to know where your video is going to end up. There are, in fact, several different potential video destinations. You can upload a video to your feed just like you would any post, but that has the strictest requirements. You’re allowed up to 60 seconds of video, though it can be in any resolution from 600p to 4K. To my knowledge, these are the same requirements as using Instagram Stories for video as well.
Other options include IGTV, which is Instagram’s new extended video platform. IGTV allows videos between 15 seconds and 10 minutes long. Large verified content creators, with approval from Instagram, are able to post videos up to an hour long. For IGTV, the video has to be at least 720p, and the video file itself needs to be less than 650 mb in size. You can read more about IGTV video requirements here.
Instagram video ads are similar to posts, but have a bit more allowable specs to make your videos look better for advertising. A lot of different sites cover these, so check out one of them for an up to date guide.
There’s also the livestream functions of Instagram, but those don’t allow you to upload a stand-alone video file; you need to be streaming from a camera or phone of some sort. That’s fine, but outside the scope of this post.
Knowing the eventual destination of the video you’re uploading will help you make sure you’re making a video that fits within the minimum and maximum requirements. Don’t try to push a five minute video as a regular post, for example.
Start Strong
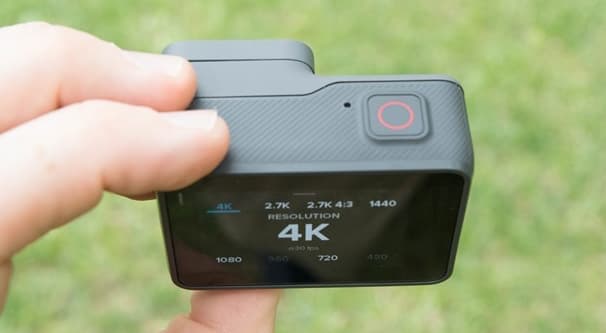
Video compression is an interesting monster to grapple. The larger and more high quality your initial video, the better your post-compression video will look. Even if an algorithm takes a chunk out of it, there’s only so much it can do. To that end, I recommend at least trying to film your initial video in 4K.
That said, 4K video filming isn’t necessarily easily available. It’s relatively new, so only the most modern phones and cameras are able to capture it. At least, operating on a casual business perspective, that’s true. If you’re a video production company, you’ve likely had better quality accessible for years. I don’t figure many of my readers are professional video producers, though, so much as regular users simply hoping to avoid horrible video compression.
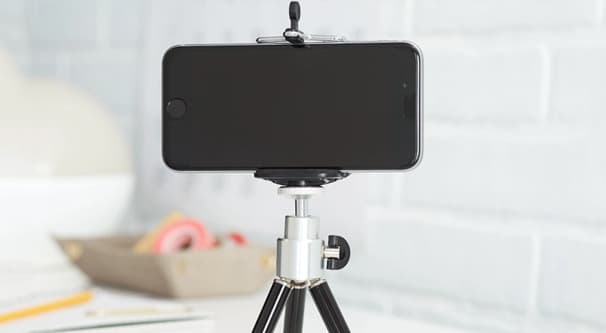
I generally don’t recommend filming on a phone if you can help it. It’s harder to keep your video steady, you have fewer controls over the camera, and let’s face it; a phone camera’s lens isn’t going to be very good. If you have to film with your phone, I recommend at least getting a cheap tri-pod.
A mid-range DSLR will do wonders. If you don’t believe me, see if you can find a local photography store or club that can lend you one for a week, to film some experiments.
Frankly, having a photographer or videographer on your team will make this all a lot easier. If you have the hardware, that’s fine, but having someone who knows how to operate it is, if anything, more important.
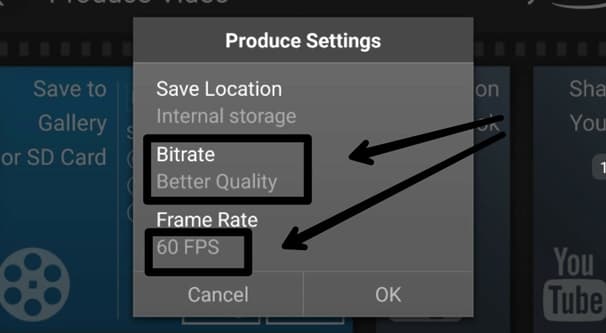
Create your source video at 4K in 60 FPS. If you read the above guidelines, you know this is likely to be both outside of the maximum video guidelines and a larger file size than is allowable, but that’s fine. We’re going to do our own processing prior to uploading.
When you’re setting up to film, keep a few quirks of video compression algorithms in mind. For example, compression tends to hurt video filmed in shadow the most; dark colors are muddied and compressed more than lighter, more colorful variety. Try to bring adequate light and, if you’re setting up your own location to shoot, use a lighter background.
Edit for Quality
Once you have a strong source video, you want to do a bit of editing on your own. Transfer the full video to whatever desktop or laptop PC you’re using to manage video. You want a computer that has sufficient power to run a video editing suite. Here are some video editing options you can consider.
FFmpeg – This is a command line utility that actually is a background part of a lot of other video editing apps. You put together what is essentially a script of actions to be applied to a video, and FFmpeg goes through and performs those actions. The app itself is free to download and use, it’s open source, and it has a whole bunch of different libraries and additional utilities you can add to make it work for you. This tutorial is a pretty good overview of what it can do at a basic level.

Now, command line utilities aren’t necessarily a good place to start. If you’re not used to using command line apps, it’s going to be inscrutable and complex, not a good place to start. If you prefer working with something a little more visual, the other options below are good to start.
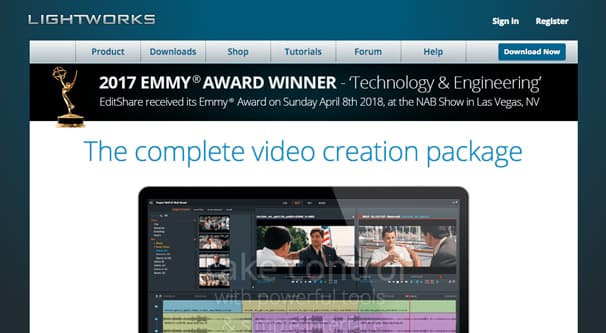
Lightworks – This is a professional-level tool with a free version you can get just by registering. At least, that’s how it used to work; I’m not sure if they still offer pro unlocked copies on a rolling month to month basis. Even so, you can pay for a pro license fairly easily. You can get it month to month for $25 per month, a year for $175, or a full lifetime license for about $440. The only downside to the lifetime license is that you don’t get major updates, which is kind of a bummer. It’s a pretty complex tool, but it’s also extremely powerful and comes with some additional effects packages if you get the year or longer licenses.
DaVinci Resolve – Produced by Blackmagic Design, Resolve is a very high end program that is nevertheless available to anyone willing to pay for it. It’s been used in Hollywood studios and indie shops alike. I’ll be honest here; it’s probably a little overkill for making minute-long videos for Instagram. However, it’s great if you want to make videos for a variety of different sources, including Instagram, Facebook, YouTube, and even television commercials. Resolve itself has a free download, and Resolve Studio – the professional version with team features, deep editing, 3D tools and more – is $300.

Vegas – Vegas is another pro-tier editing tool available to casual users as well. It has several different versions; Pro Edit, Pro, Pro 365, and Pro Suite. Edit is $400, Pro is $600, 365 is a subscription service that runs about $17 per month, and Suite is a full high-end product that runs you about $800.
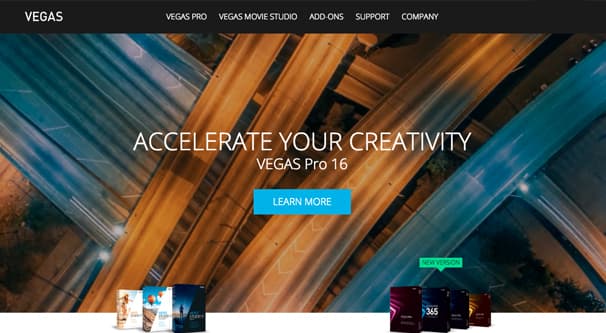
That said, keep an eye out for deals. Humble Bundle has been known to provide video editing tools in bundles, meaning you can get the Edit app – or something comparable from a different company, depending on the deals they make – for something like $15 as a one-time payment.
Adobe Premiere – This is one of the Adobe creative suite apps, and as such, is a very good tool for most people to start. Premiere used to be the number one video editor years ago, but it has become both more accessible and cheaper in the last decade or so.
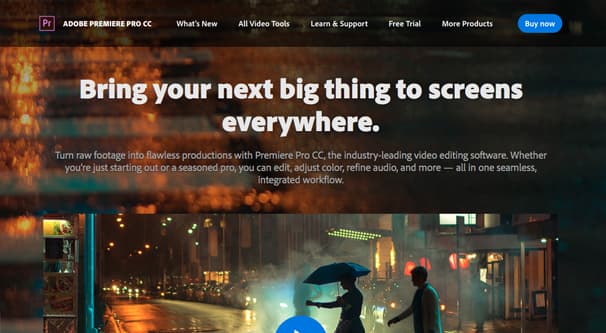
Since Premiere is part of the Creative Cloud, it’s a subscription plan along with a variety of other apps. You can get all of those apps for about $53 per month, or you can just go with a single app – in this case, the video editor – for $20 per month. Adobe is pretty flexible with their options, so feel free to check it all out.
All of these are valid options, but there are also a bunch of other video editing apps available. There’s always something to fit your budget and your skill level.
One thing you don’t want to do is try to edit your video on a phone or tablet device. The available video editing apps aren’t very good, and they may introduce their own level of compression. You want as much control over your video as possible, so use a good program to do the work.
What specific video editing you do will depend on your destination and what you’re trying to do with the video. I’ll leave this largely to you. If your final destination is going to be 1080p, downscale your video on your own, don’t let Instagram do it for you. The same goes for cutting 60fps to 30fps. The reason you film at 60 is so that if you want to slow your video down, you have the frame data to work with. Taking a 30fps video and slowing it down makes it more of a slideshow than a video.
This is also where you should do content and quality edits. Remember that your final product needs to be either less than 60 seconds long, or less than 10 minutes long, depending on whether you’re posting it on Instagram or IGTV. Make sure to add whatever intros and endcaps you want and factor them into the final video as well.
While you’re at it, make any audio edits you want to make as well. Adding music, reducing noise, and other edits can be very useful. Now, you CAN start out by recording all of your audio tracks separately from your video tracks, but that’s a bit advanced for someone casually making their first videos for Instagram. Feel free to experiment with audio later, but it’s not strictly necessary now.
When you’re encoding and rendering your final video, I recommend the H.264 format. H.264 is generally considered a modern standard, and there’s no reason to really use anything else at the moment.
Lossless Transfer
One step where I see a few people make mistakes is in transferring the video to be uploaded. You’ve put in all this work to make a good source, so why hurt it at the very end? Most people are going to need to transfer a video to a phone library in order to upload it. Mac to iOS devices can use Airdrop. Mac to Android needs to use Dropbox or a similar service. Windows computers can use a USB cable or Drive, in general. Many other transfer methods exist, just make sure you’re not running the transfer through an app that introduces compression.
You might also be able to use one of the Instagram business apps that now allow posting. A handful of apps have been able to become part of the Instagram partner program, which allows them access to many additional features and API calls that normal users can’t. This primarily involves being able to make posts from a desktop platform, something Instagram has historically banned, requiring any of a variety of different workarounds.
At this point, you need to upload your video to Instagram. Unfortunately, there’s no way to upload a video through any back channels or workarounds. You have to go through whatever “new post” feature you’re using may be, be it IGTV, a regular post, or an ad post.
Whenever you upload a video to Instagram, it’s going to be processed through their algorithm. There are no two ways to go about it. However, if you’ve gone through all of the processing recommended above, you should end up with a video of decent quality at the end of it. It will look a little worse than your source, but it won’t be noticeably poor quality.
Now, I’m not a professional video producer. I only know what I’ve gathered from working on Instagram for a while, using casual tools I’ve found and techniques I’ve pieced together. If you’re a professional with video and you have information that can improve my advice, let me know in the comments. We’d love to hear your thoughts.
I have a question I’m trying to get answered. Obviously I want the best quality videos on my Instagram page… I do have final cut and I have InShot app and iMovie as well. But what about just uploading Hi-Res video content straight from my camera to Instagram? Do I always need to take my videos and run them through software like final cut or iMovie before uploading them to Instagram? Will the result always be superior that way? Or is there a format setting on my iPhone camera for video that will yield the best result? In other words should I be shooting in 4K and then uploading directly to Instagram? Or is it actually better to record at 1080 or 720 format to avoid some of the compression that Instagram automatically does? I always assumed that if I shot in 4K it would look better on Instagram… But is that not the case? Do camera settings like 720 or 1080 at 30 frames per second or 60 frames per second yield better results because they’re smaller files? If I’m shooting in those formats is it more compatible with Instagram and therefore minimizes the amount of compressing Instagram will do to those videos? Or am I just reducing my overall quality and then getting compressed again anyway? Please help! The other question I had refers to lighting. Is it better to record at 1080 or even 720 with lower level lighting than 4K? And lastly is there a way… An app or some thing that enables iPhone users to record video in square mode? I know we can take pictures in square mode. But can we take a video in square mode? Is it at all possible? Thank you in advance for your help!
Hi Shevaun! There shouldn’t be any issues with this, though videos that are edited at least a bit tend to come out better (removing white space, adding background music, trimming, etc). If it’s recoded on your phone, you can send it straight to Instagram after. If it’s another smart device, you’ll have to make sure it’s in MP4 format and send it to your iPhone so you can upload it. Videos are downsampled on Instagram, so if you record in 4k, it will not display in 4k on people’s phones. You’ll be fine recording in 1080p. There’s an app called “Square Video for Instagram & Vine” on the iOS app store that sounds like what you’re looking for. Hope this helps 🙂
Hello James! Thanks a lot for the article, it’s really useful. I have a question that is quite not the topic but it’s related with it. I do a lot of pictures and video repost, and I want to display the best quality possible of others’ materials. I found a way to do it for pictures (time taking but you end up not loosing quality, I think), but I couldn’t find any solution for resposting videos without quality loss (actually I am currently using Repost for IG and the quality I get is horrible). Do you have any idea of how to solve this? Thank you so much for your time, I really appreciate your help. All the best, Almudena